Finally Finished!
My niece is getting married soon. She’s planning a honeymoon in Scotland, so I thought I’d do something different for their wedding present.
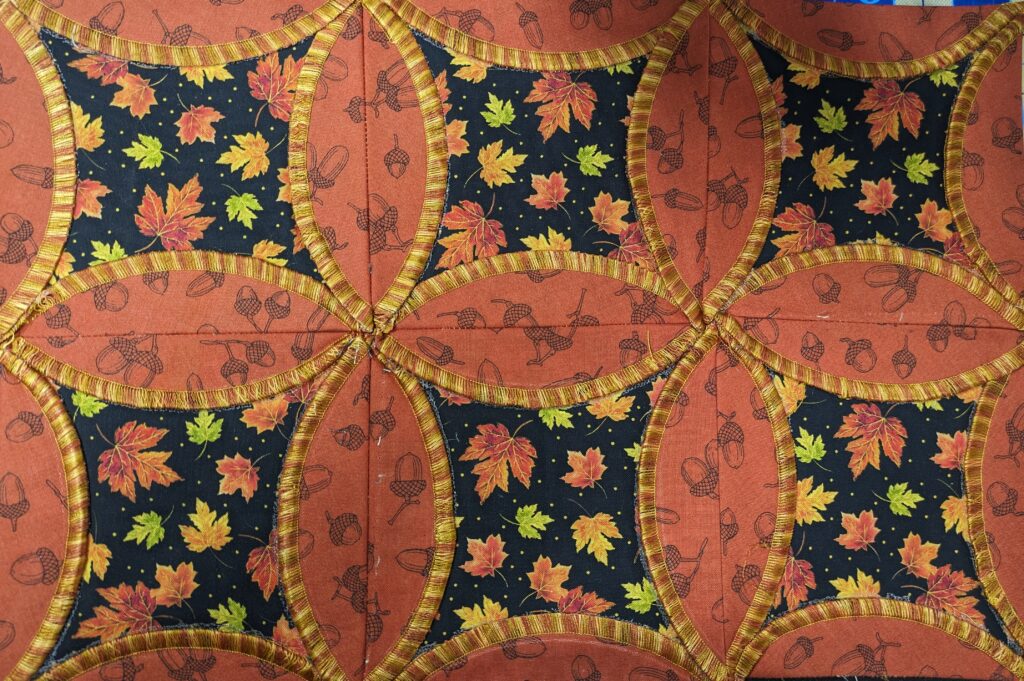
The luggage handle covers and inside bag identification were fairly simple and went off like expected. I used the material from the quilt her other aunt is making for the covers.
The luggage tags were surprisingly troublesome. If I had just done the basic styles you see on Google I would have been done ages ago. However, first I had heard about Shrinky Dink luggage tags. Being a child of the 70’s, I thought how cool is that! Well, the first lesson learned is that one should always check the small print on the supplies. Designed a wonderful concept and went to print it out on the material. Then realized I did not have the printable Shrink material. That’s disappointing, but mom taught this girl to improvise. I figured I can take the same design and put it on acrylic with resin. Well, let’s just say that I need to learn more about resin. One of the problems was that I put the picture in the back. That made the picture too hard to see/ What I should have done was use sticker paper for the printed design and put it on the front of the mold. Then you just put the resin on top after you sandpaper the edge a bit to keep the resin on.
Then I decided to use vinyl and make a more traditional tag. The tags were semi ok. They just looked really homemade and messy. I need something for my upcoming trip, so I’ll just use them myself. Definitely not gift worth.
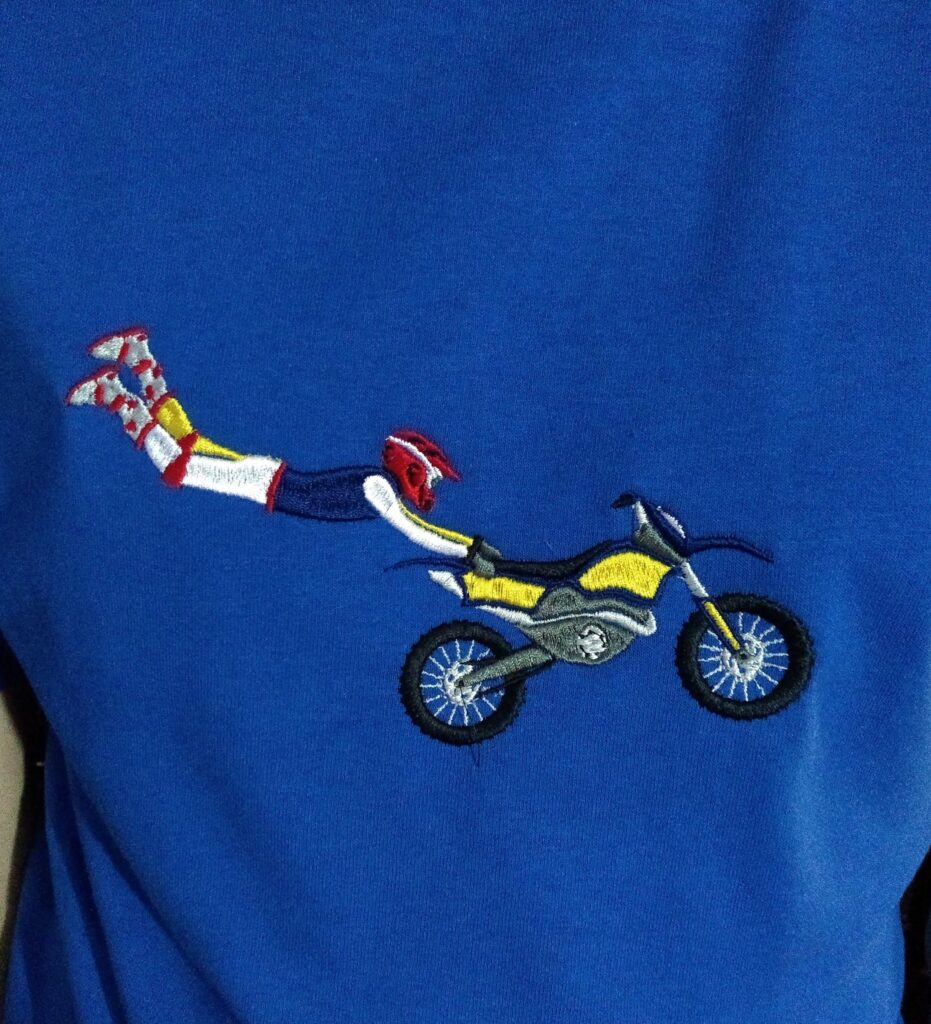
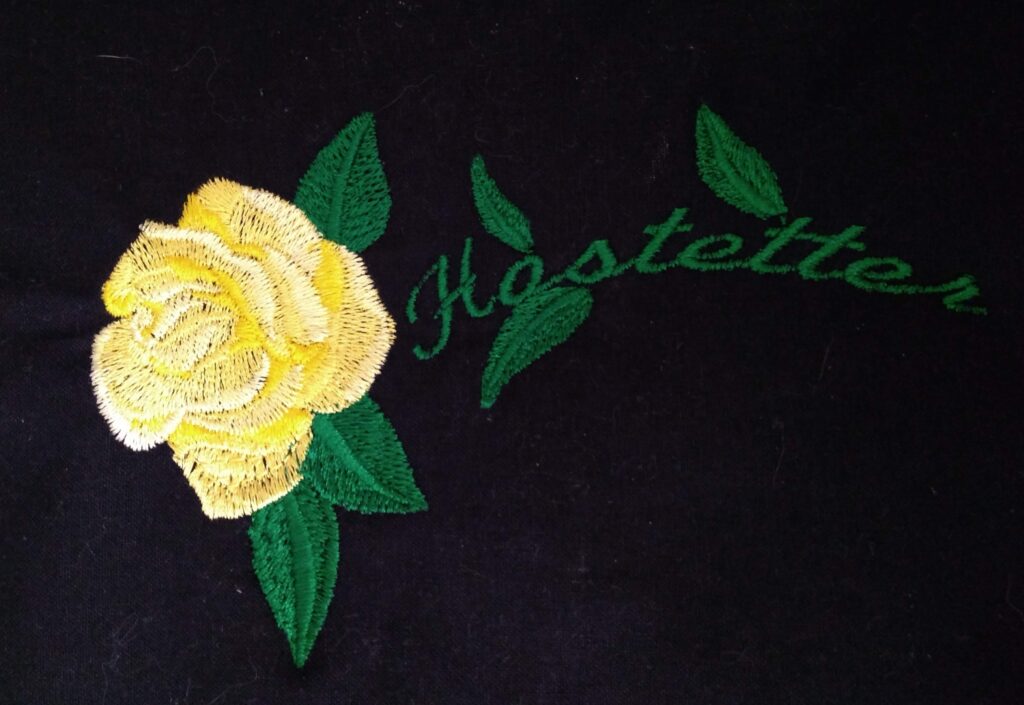
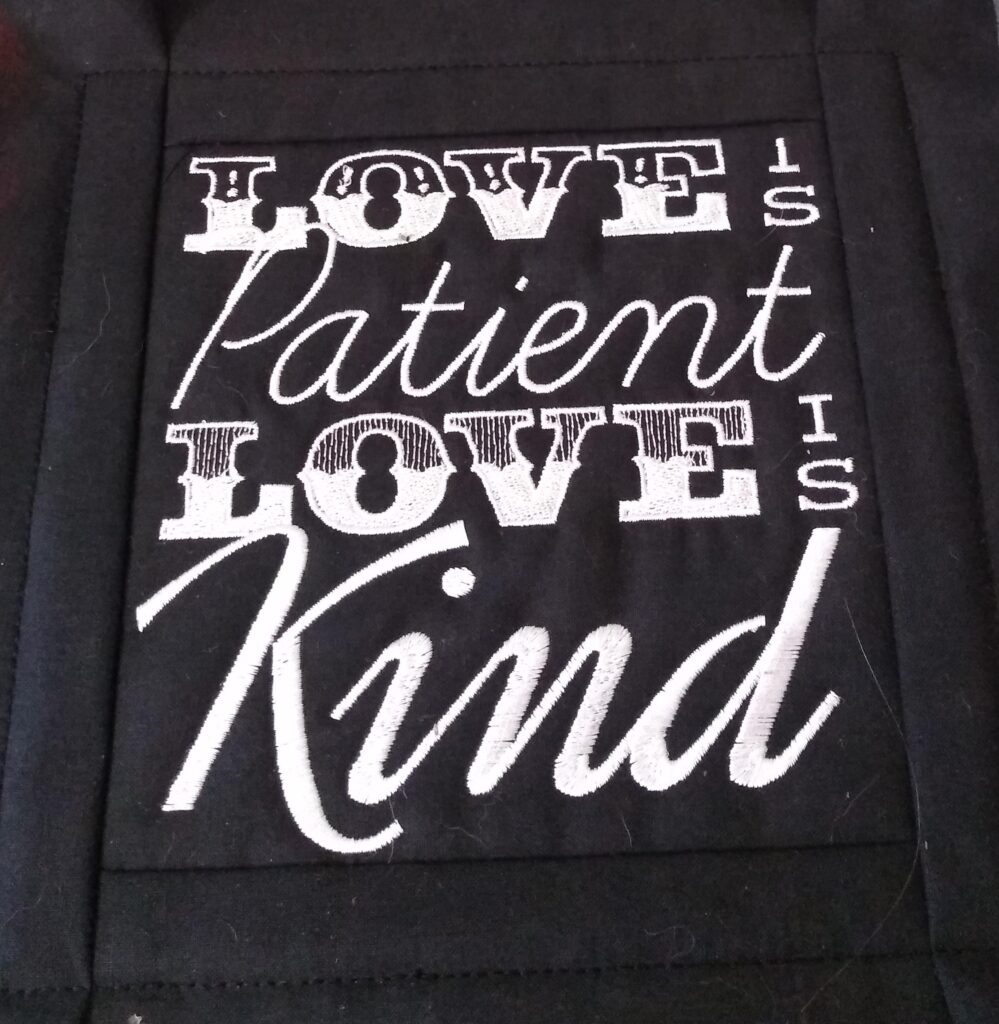
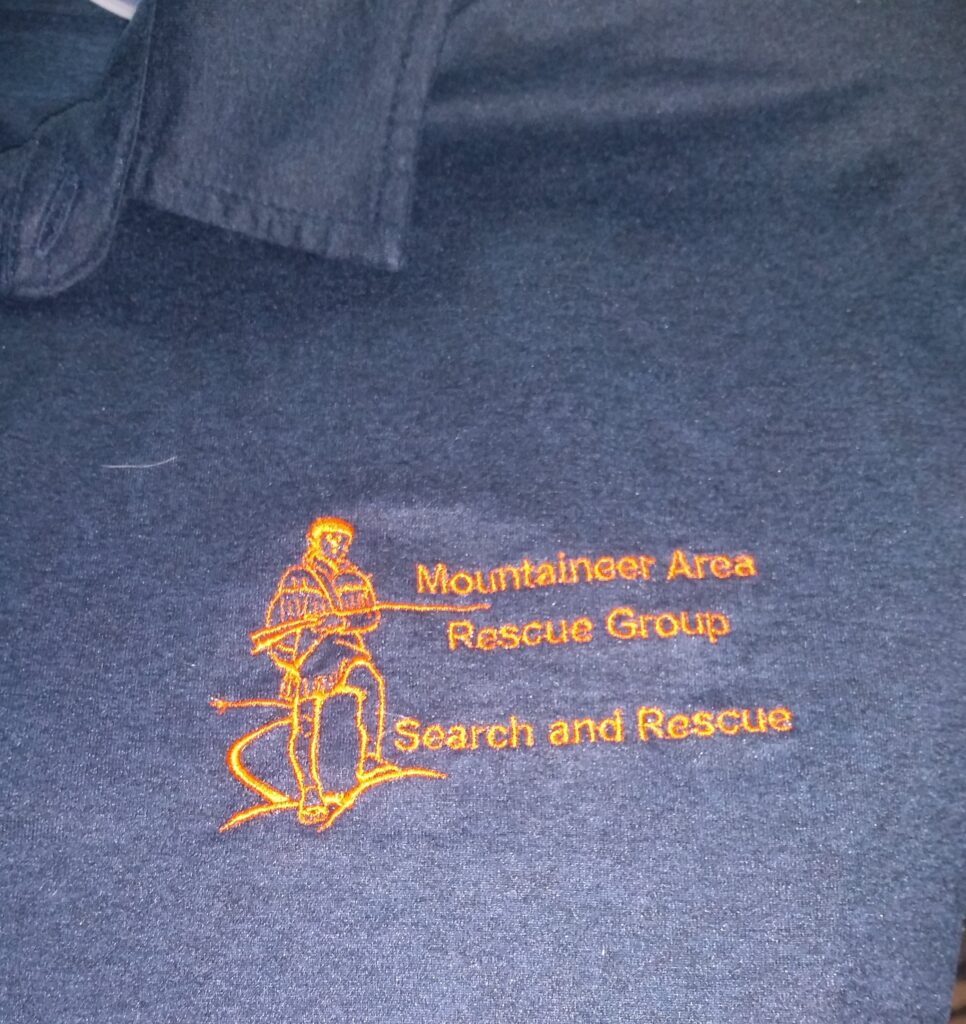
Finally, I set down to look for some inspiration. Looked up and say my embroidery machine. Why didn’t I think of that to begin with. Much simpler. So, I used ribbon and have finished the Luggage Identification for the trip. Hope they like it.
Discover more from Custom Notions Gifts
Subscribe to get the latest posts sent to your email.
